
Understanding TV Settings
Television settings play a crucial role in enhancing the overall viewing experience. A well-calibrated TV can significantly improve picture quality, sound realism, and ultimately, viewer satisfaction. The primary settings that users often encounter include picture modes, sound modes, and color calibration adjustments. Each of these settings can be tailored to personal preferences, but it is essential to understand their impact on the viewing experience.
Picture modes typically consist of standard, cinema, vivid, and game settings, each designed for specific environments and content types. For instance, a cinema mode usually softens bright colors and enhances darker shades, creating a viewing experience that is ideal for watching movies. Conversely, a vivid mode enhances brightness and color saturation, making it suitable for brightly lit rooms or sporting events. Recognizing when and how to utilize these modes can substantially elevate your enjoyment of different types of media.
Just as vital as the picture settings are the sound modes, which allow a user to optimize audio output for various scenarios. Modes such as stereo, theater, or music can enrich the experience depending on the content being viewed. Adjusting the sound settings to complement the picture quality can immerse viewers more fully in the narrative or ambiance of a program.
Moreover, understanding color calibration is another significant aspect of tailoring your TV’s settings. Proper calibration ensures accurate color representation, contributing to a more lifelike viewing experience. This can often be adjusted using built-in calibration tools or apps that guide users through precise adjustments, accounting for various environmental factors such as room color and lighting.
In summary, an informed approach to adjusting your TV settings can transform how content is experienced, ensuring that viewers can appreciate the full capabilities of their television in any viewing environment.
Choosing the Right Picture Mode
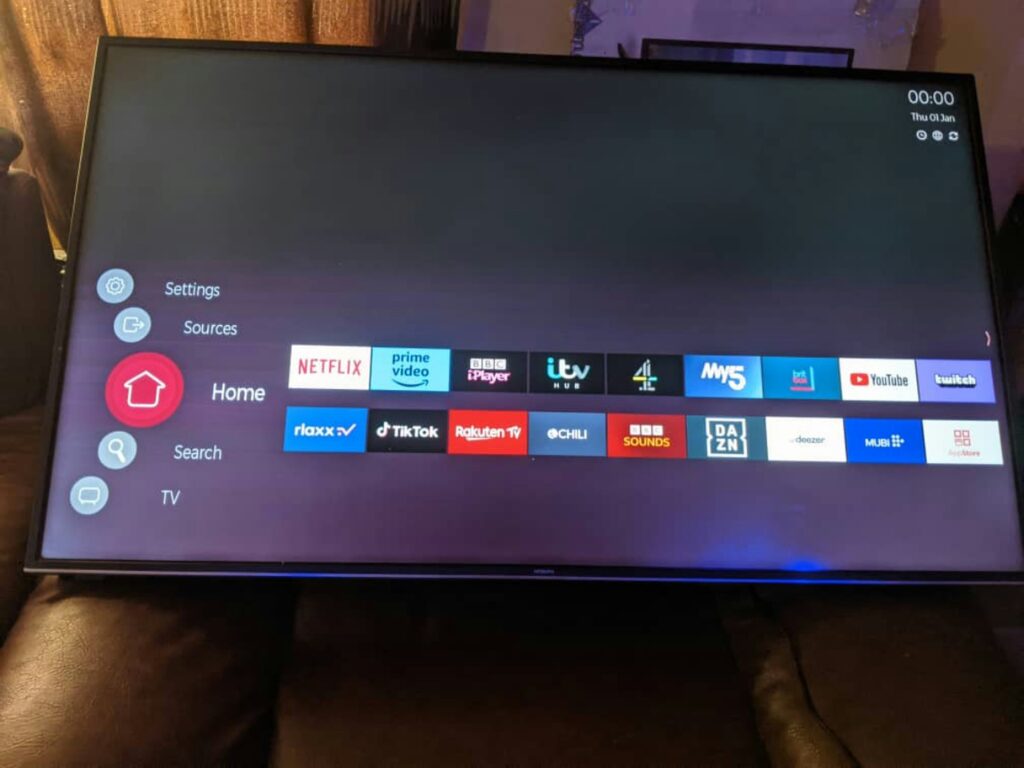
When setting up a television for optimal viewing, selecting the appropriate picture mode is crucial. Modern TVs typically offer various modes including Standard, Cinema, and Game, each tailored for specific viewing environments. Understanding the differences among these modes can significantly enhance your viewing experience.
The Standard mode is designed for general usage, providing a balanced picture that works well in various lighting conditions. This mode is suitable for everyday viewing as it maintains good brightness and color accuracy without overly saturating the image. Standard mode is ideal for watching news, talk shows, or casual television programs during the day when ambient light is present.
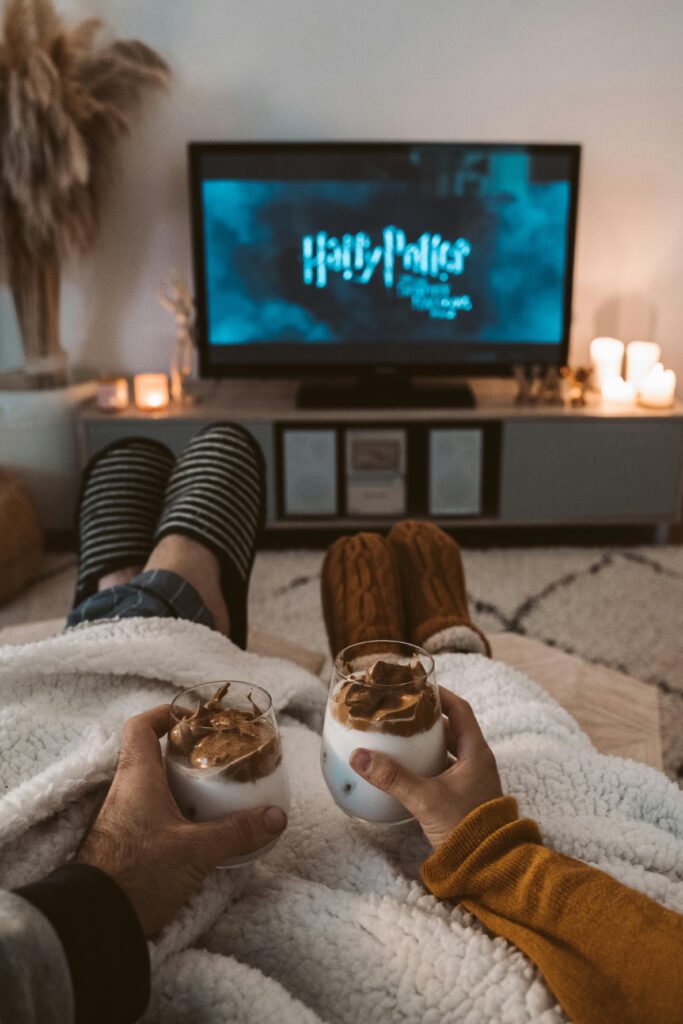
Cinema mode, on the other hand, is tailored for darker environments. It typically offers warmer colors and reduced brightness, aiming to replicate the experience of watching a film in a theater. This mode is perfect for movie nights or late-night shows, where enhanced contrast and subtle color rendering can transform your viewing by providing a more immersive experience. Users should consider switching to Cinema mode during such occasions to appreciate the details in movies and dramas.
For gamers, the Game mode is highly recommended. This mode minimizes input lag, allowing for a more responsive gaming experience. Brightness and contrast settings may differ from Standard or Cinema modes, making images vibrant and engaging. Gamers should opt for this mode when playing fast-paced games where timing and quick reflexes are essential.
To assess which mode suits your needs, observe the lighting conditions of your viewing area and the type of content you consume. For instance, if you regularly watch sports in a bright room, Standard mode is likely the best choice. Conversely, opt for Cinema mode in dimly lit surroundings for more intense viewing sessions. By understanding and experimenting with these settings, you can tailor your television’s picture mode to create the best viewing experience possible.
Calibrating Brightness and Contrast
To achieve the best viewing experience, calibrating the brightness and contrast settings on your TV is essential. Properly adjusted brightness and contrast enhance picture quality, improve color accuracy, and allow for optimal viewing in various lighting conditions. The following steps will guide you through the calibration process.
Firstly, it is beneficial to use test patterns for accuracy. Many calibration DVDs and Blu-rays provide test patterns, or you can access free online tools dedicated to this purpose. Start by displaying a grayscale test pattern on your screen. Adjust the brightness setting until the darkest shades are visible without losing detail in shadow areas. Ideally, you should be able to distinguish the various shades of gray at the lower end of the scale.
Next, adjust the contrast setting by using a contrast test pattern. Increase the contrast until the brightest whites appear crisp without any hint of blooming or halo effects. It’s crucial to ensure that the whites do not overexpose; there should be clear differentiation between bright areas and subtle details.
In a room with bright ambient light, consider increasing both brightness and contrast levels slightly to compensate for glare, but revert to lower settings in darker environments for best results. It is important to recalibrate after substantial changes in the room’s lighting or the TV’s installation, as these can alter the perceived quality of the picture.
Lastly, once your desired settings are established, take time to view varying content to assess the changes. Make adjustments as needed to ensure that the TV presents vivid yet balanced visuals. Regular calibration can significantly enhance your overall viewing pleasure while also extending the longevity of your television’s performance.
Fine-Tuning Color and Sharpness
Achieving optimal picture quality on your television requires careful adjustment of both color and sharpness settings. These adjustments play a significant role in delivering an immersive viewing experience. To begin fine-tuning, it is advisable to access the TV’s settings menu, typically found through the remote control. Once in the settings, locate the picture or display option to open color and sharpness configurations.
Firstly, focus on color saturation. This setting controls the intensity of colors displayed on the screen. Too much saturation can result in unnatural hues, while too little can make the picture seem dull. It is beneficial to select content with vibrant colors, such as nature documentaries or animated films, as these serve as excellent references for adjustment. Gradually increase the saturation level until the colors appear vibrant yet realistic. Be cautious not to overdo it, as excessive saturation can lead to a less authentic appearance.
Next, proceed to the tint settings. Tint adjusts the balance between green and red hues within the display. To fine-tune this setting, it is helpful to reference material with skin tones, as this will allow for a more accurate representation. Adjust the tint by small increments while observing on-screen characters or natural objects until a balanced and realistic hue is achieved.
Once color settings are satisfactory, shift your attention to the sharpness adjustment. This setting enhances the details of the image. Similar to color settings, it’s best to use high-definition content for this purpose. Begin by setting sharpness to a medium level, and then gradually increase it while monitoring screen clarity. However, over-sharpening can create unwanted artifacts, such as halos around edges, which detract from the viewing experience.
For optimal evaluation of your adjustments, consider utilizing visual aids such as calibration DVDs or online visual tests. These resources can offer precise guidelines to refine your settings effectively. By meticulously adjusting color and sharpness, you can significantly enhance your viewing experience, ensuring that your television delivers images with the utmost fidelity.
Optimizing Sound Settings
Optimizing the sound settings on your television is crucial for achieving an immersive viewing experience. The audio quality can significantly affect how content, such as movies, music shows, or sports, is perceived. To enhance bass and treble, begin by navigating to your TV’s audio settings. Most modern TVs offer a variety of equalizer presets, allowing you to adjust the sound profile according to your preference. For a richer audio experience, consider increasing the bass levels slightly while balancing treble settings; this can create a fuller sound without sacrificing clarity.
In addition to equalization, many TVs provide various audio modes tailored for specific types of content. For instance, some models offer dedicated modes like ‘Movie’, ‘Music’, or ‘Clear Voice’. Selecting the appropriate mode can enhance vocals, making dialogue clearer in films or boosting the overall dynamics of music performances. Experimenting with these preset modes allows users to find the one that complements their viewing habits best.
For those seeking an even more enhanced sound experience, connecting external audio systems such as soundbars or home theater systems can make a notable difference. To connect a soundbar, you typically use an HDMI ARC port or an optical cable, both of which can transmit high-quality audio signals. Ensure that the TV’s audio output is set to the correct mode to utilize the external system effectively. Make sure to check the sound settings for the external device as well; optimizing bass and treble on both the TV and the soundbar ensures a cohesive listening experience.
Furthermore, consider the placement of external speakers or soundbars. Positioning them at ear level and ensuring they are not obstructed by furniture can significantly improve sound clarity and spatial effects. Investing time in fine-tuning these settings will enhance your overall viewing experience and ensure you enjoy the highest-quality sound possible.
Choosing the Right Audio Equipment
When it comes to enhancing your home viewing experience, investing in quality audio equipment is just as important as selecting the perfect television. High-quality sound can significantly elevate your enjoyment of movies, shows, and gaming, bringing the audio experience to life in a way that complements the visuals. As a result, understanding the various options available on the market becomes crucial for achieving an optimal viewing experience.

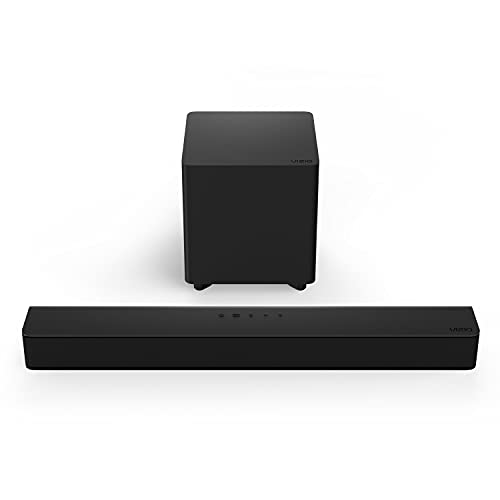

One recommended option is the Vizio 2.1 soundbar, which offers a seamless combination of compact design and powerful audio output. This soundbar includes a wireless subwoofer, delivering deep bass that can transform action scenes and music into an immersive experience. With features such as Dolby Audio and DTS Virtual:X, the Vizio soundbar can simulate surround sound, providing a more cinematic feel without the complexity of installing multiple speakers. Its compatibility with various devices allows for versatile use, making it a great addition to any home theater setup.
Another noteworthy choice is the Bose Acoustimass surround sound system, known for its exceptional sound quality and advanced audio performance. This system utilizes small speakers along with a powerful bass module, enabling it to create a broad soundstage that fills the room. Moreover, the Acoustimass system features sophisticated sound technology that ensures clear dialogue and balanced sound, which is essential for a satisfying viewing experience. It can be integrated with existing audio setups and is compatible with most modern televisions, enhancing the overall audio quality significantly.
Choosing the right audio equipment requires evaluating your space, preferences, and budget. Whether you opt for a soundbar like Vizio or a more comprehensive system like Bose, investing in quality audio is a crucial step toward transforming your home into a vibrant entertainment hub.
Connecting Your Devices: HDMI and More
Setting up your television for the best possible viewing experience begins with properly connecting your external devices. The first choice you will need to make involves selecting the right cables, with High-Definition Multimedia Interface (HDMI) cables being the most commonly used today. These cables are essential as they support high-quality audio and video signals. Additionally, for 4K resolution displays, it is recommended to use calibrated 4K HDMI cables that are designed to handle the increased data bandwidth required for high-definition content.
To start, gather all the devices you wish to connect to your TV, such as Blu-ray players, gaming consoles, streaming devices, or sound systems. Identify the HDMI ports on the back of your TV and the corresponding output ports on each device. Most modern TVs come equipped with multiple HDMI ports, allowing for several connections, so plan accordingly based on what you need.
After identifying the ports, connect each device to the TV using the HDMI cables. It is paramount to ensure a secure and snug fit for optimal signal transfer. You should also be aware of the version of HDMI cable you are using. For instance, HDMI 2.0 cables are sufficient for 4K at 60Hz, while HDMI 2.1 may be necessary for higher bandwidth demands, especially if you are looking to future-proof your setup for 8K content or high refresh rates.
Once your devices are connected, it is time to organize your cables. Using cable management solutions such as cable ties, sleeves, or clips can assist in keeping your setup tidy while preventing any tangling. A clean arrangement not only enhances the aesthetic appeal of your home entertainment area but also makes it easier to troubleshoot any connectivity issues that may arise.
Utilizing a Universal Remote for Convenience
In today’s fast-paced digital world, managing multiple devices can often become overwhelming, leading to a less than optimal viewing experience. A universal remote, such as the Logitech Harmony Elite, offers a solution that simplifies control over various audio and video equipment. This remote is designed to streamline the management of all your devices into one efficient controller, enhancing convenience and reducing clutter within your entertainment setup.


The setup process for the Logitech Harmony Elite is user-friendly. Users can initiate the configuration through the companion app available on smartphones or tablets. This application allows you to seamlessly integrate multiple devices, from your television to streaming devices, game consoles, and sound systems. By simply following the on-screen prompts, you can add all your devices, enabling you to switch between them with ease, which is a significant advantage over traditional remote controls.
Furthermore, the Logitech Harmony Elite excels in custom control options. It allows you to tailor the remote’s buttons and settings to suit your preferences. With the ability to adjust audio levels, switch inputs, and even power on multiple devices simultaneously with a single command, the universal remote enhances the efficiency of your viewing experience. This feature is particularly useful during gatherings, where changing settings quickly can keep your guests engaged without interruption.
Additionally, the remote’s touch screen can be programmed with personalized activities, simplifying the navigation process. For instance, selecting “Watch Movie” can instantly configure your television, audio system, and streaming device to get everything ready, all with the press of a single button. Thus, a universal remote like the Logitech Harmony Elite not only adds convenience but also elevates the overall enjoyment of your entertainment environment.
Best Wall Mount Practices for Viewing Experience
When it comes to enhancing your television viewing experience, the method of mounting your TV plays a crucial role. Wall mounting not only saves space but also allows for optimal screen positioning, which can significantly impact viewing comfort. One of the primary considerations when wall mounting a TV is selecting the optimal height. The general guideline suggests that the center of the screen should be at eye level, typically around 42 to 48 inches from the floor for an average seated viewer. This height ensures that your neck remains in a comfortable position during extended viewing periods, preventing strain and discomfort.
In addition to height, the distance between the TV and seating arrangement is essential for an immersive experience. As a rule of thumb, the distance should be approximately 1.5 to 2.5 times the diagonal length of your screen. For example, if you have a 55-inch television, sitting between 6.5 to 11.5 feet away is ideal. This distance balances the viewing angle and screen size, allowing viewers to enjoy the full detail of the picture without causing eye fatigue.
There are several types of brackets available for wall mounting, and selecting the right one can enhance both functionality and aesthetics. Fixed brackets are great for a streamlined look, while tilting and full-motion brackets provide flexibility for adjusting viewing angles. It is essential to consider the weight and size of your television when selecting a bracket, ensuring it complies with the manufacturer’s specifications for safety and stability. Moreover, always secure the wall mount to a stud or a solid surface, as this enhances stability and prevents accidents. Following these best practices will facilitate not only an optimal viewing experience but also a safe and reliable setup.